|
| Free texting for the whole family with Google Voice™ on the iPhone! |
I wanted to write about this awhile back, it's actually pretty cool,
I didn't realize how easy it was to enable native texting (not using any 3rd party apps) with my Google Voice™ account on my iPhone, when I found out, I liked it, although I don't use it anymore, but if I ever had to, I definitely would.
This is a pretty simple procedure to follow and only requires installation of three apps, your iPhone
must be jail-broken and you must have a data plan or WiFi connectivity. (You do not need to be jail-broken if you are fine with using the Google Voice™ app every-time you want to text someone, simply ignore all the steps and install Google Voice™ from the App Store)
You will need to have a
Google Voice™ account in order to use this functionality. Follow the steps below if you want to be able to SMS without opening an app.
Instructions
- First, you will want to install Google Voice™ from the official App Store.
- Now you must install an app called Tlert from Cydia it's in the ModMyi repository. Please keep in mind that Tlert is not free, it comes with a price of $6.99, if for some reason you cannot afford Tlert there is a legal patch you can grab through Banned iPhone repository. (If you use the patch you must make sure that Tlert is installed even as trial and then make sure Tlert is disabled before you install the patch and you have rebooted and re-enabled Tlert)
- After you have installed Google Voice™ and Tlert you should now be ready for the final steps, make sure you have the BigBoss repository installed on Cydia.
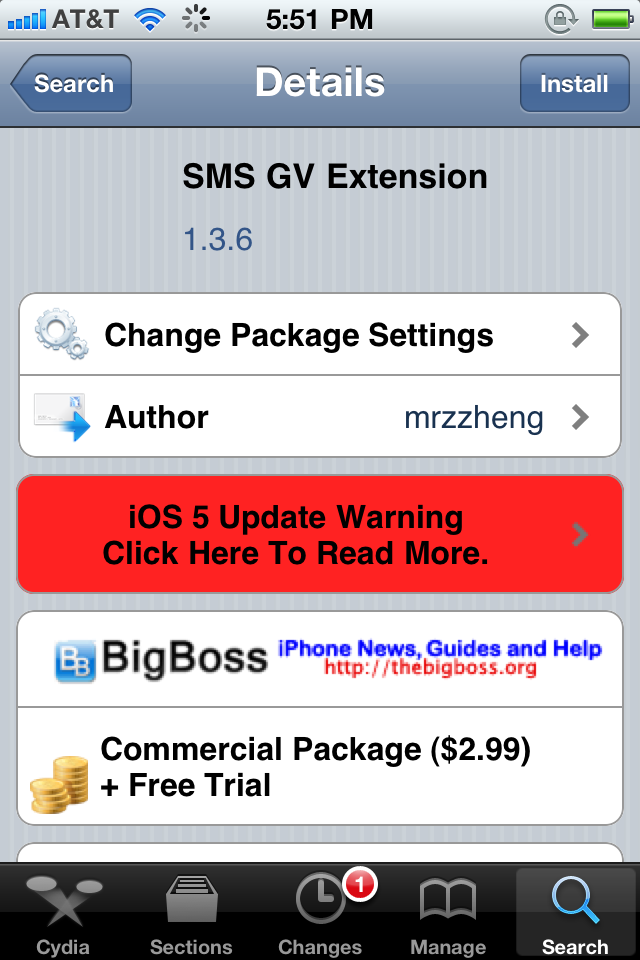
- Alright, open up Cydia and search for SMS GV Extension. It costs $2.99, it also includes a free trial, this adds Google Voice™ messaging capability to the device's SMS module. The website for it can be found here.
- Congratulations, you've completed all of the previous steps, you're going to want to optimize your settings now, look below to set everything up perfectly.
Configuration
- Open Tlert, make sure enabled is toggled on.
- Now click on "Activate Compose", it'd be best to use the Volume Buttons "Down, Up" to send an SMS through Tlert, so check it and go back, then hit Apply.
- Now go to the Settings app, click on "Notifications", click on "Google Voice" and enable "Alerts".
- Finally go back to the Settings app and scroll down to "SMS GV Extension", click on it then input the e-mail address you use to login into Google Voice with password.
- Toggle "Enable Send" to on.
Toggle "Check License" on.
Click Receive Settings and Toggle "Official GV app" on, "Local Mail" off, "Refresh Cache" on.
- Now go back to Settings and re-spring your device.
- Open the "Google Voice" app and make sure the same account you used on "SMS GV Extension" is logged in through the app, you can now exit the app after logging in.
- Finally test it out, have someone text your Google Voice number and see for yourself.





If you have any problems figuring this out or installing any of the above, drop a comment and I'll be happy to help you out.